
Turn a player photo and a few season details into a custom baseball card. This guide walks through using our editable baseball card templates for Photoshop, from choosing a design to checking your exported files.
What you need before you start
- A baseball card template and its included tutorial.
- Adobe Photoshop. Our PSD files use separate front and back artboards; older versions before Photoshop CC may not open them correctly.
- Your own player photo, team logo, player name and stats.
- The fonts listed with your template, or suitable fonts you have permission to use.
Each template download includes a ZIP file containing a layered Photoshop PSD, a template tutorial and a font list. The player stock photos shown in previews and the fonts themselves are not included. See our template FAQ for software and customization questions.
1. Choose a design that suits your player or team
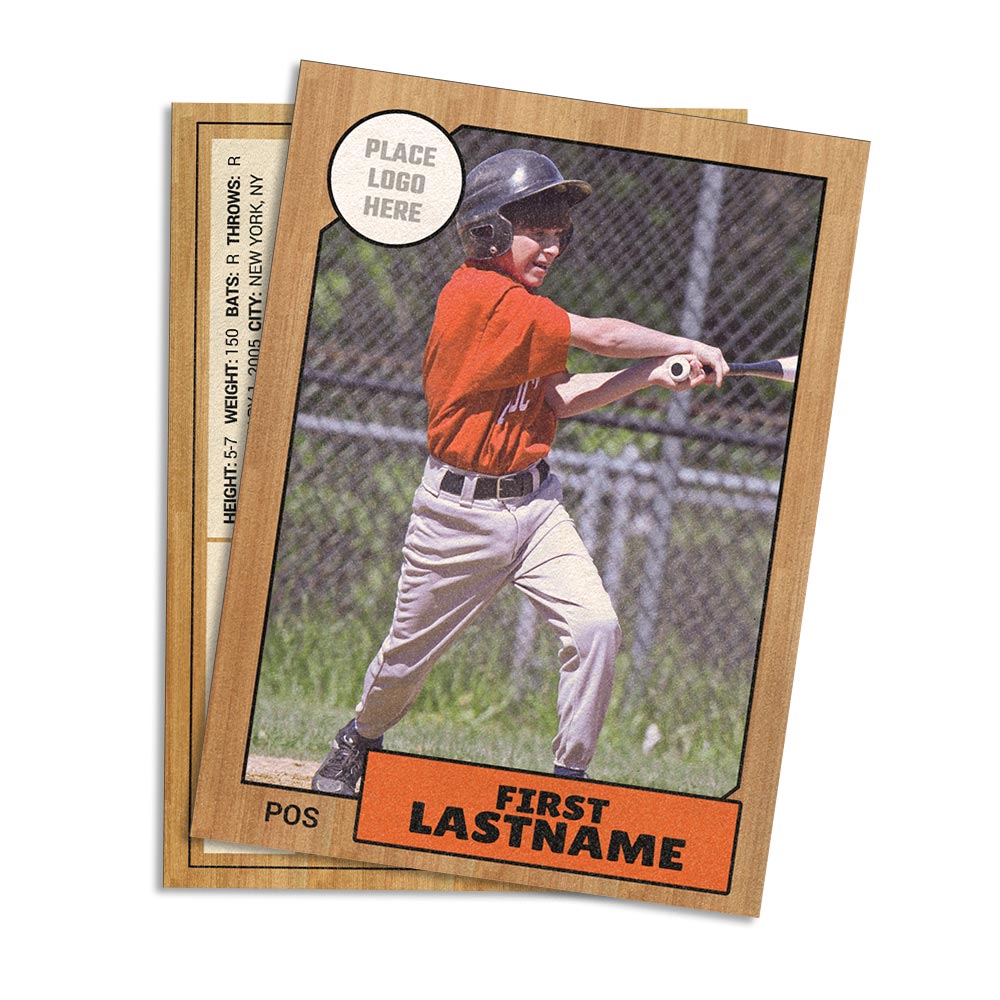
Compare both the front and back previews before choosing. Look at the space for the player photo, the length of the name, and the information you want on the reverse. A portrait that works in one layout may need a different crop in another.
For a vintage look, try 80s Wood or Retro 50s. For a modern design, compare Torque and Light Wave.
2. Open the PSD and save a working copy
Extract the downloaded ZIP, read the included tutorial, and open the PSD in Photoshop. Save a separate working copy before editing so you can return to the original template later. If Photoshop reports missing fonts, check the included font list before replacing anything; a substitute font can change line breaks and spacing.
Find the front and back artboards in the Layers panel. Expand the relevant layer groups and familiarize yourself with the photo, text and design elements. Follow the instructions supplied with your particular template when replacing images or editing grouped elements.
In the basic customization video, layers are color-coded: green for text, red for editable colors, purple for photo and logo smart objects, and gold for effects. Follow the labels in your own file, since layouts can vary. Watch the layers overview from 0:31.
3. Add your player photo
Choose a sharp original photo with enough room around the player for the template’s crop. Use the photo-placement method described in the included tutorial, then adjust the position and scale. Keep the face and important parts of the uniform clear of borders and text. Avoid stretching a photo out of proportion.
Zoom in to inspect the edges and image quality, then zoom back out to judge the complete card. A photo that looks good on its own still needs to work with the card’s frame and typography.
Watch: inserting a photo and logo
This clip runs from 2:13 to 5:56 of our Basic Customization tutorial. It uses the Vortex basketball design to demonstrate the photo and logo smart-object workflow; follow the corresponding layers in your baseball template.
- Open the photo group and double-click the photo smart-object thumbnail.
- Place your photo in the document that opens, then position and scale it to fit.
- Save the smart-object document and close it to update the main card.
- Repeat the process for the logo smart object, where your design includes one.
Watch this section on YouTube, or watch the full customization tutorial for color and text editing.
4. Personalize the text, colors and card back
Replace sample names and team information, then customize the colors, logo and stats. Check both artboards: it is easy to update the front and overlook a sample name on the reverse. Keep the type readable, especially for longer names and small stat labels.
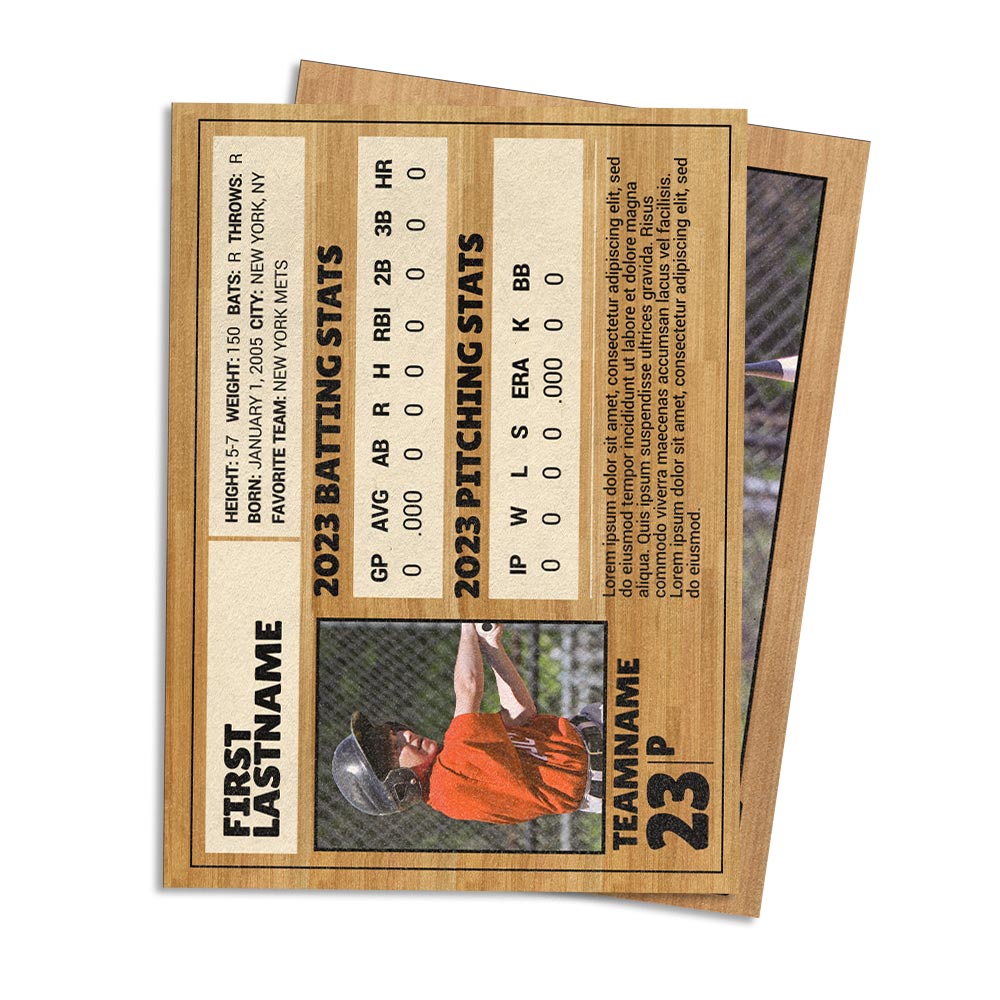
For a team set, finish and proof one card before making the others. Use consistent spelling, stat abbreviations and season labels across the set. Some templates include dynamic data features; check the individual product description and included tutorial before planning a batch workflow.
5. Proof the card before exporting
- Confirm the player name, team, jersey number and season.
- Check every stat and label against your source information.
- Look for sample text or placeholder images on both sides.
- Check photo sharpness, cropping and text readability at the intended output size.
- Save an editable PSD copy before creating final exports.
6. Export for sharing or printing
For a digital preview, export the front and back as JPG or PNG images using Photoshop’s export controls. Open the exported files to confirm that the correct artboards and crops were included.
For PDF output, Photoshop offers File > Export > Artboards To PDF. You can export artboards into one PDF or separate files. Adobe’s artboard PDF export guide explains the available options.
Before ordering prints, ask your printer for the required finished size, bleed, safe margins, resolution, color profile and file format. Match those requirements in your document and exports; a PDF export alone does not guarantee that a file meets a printer’s specifications. Request a proof to check trimming, front-to-back alignment, color and small text before producing a full set.
Watch: export your finished cards
This clip starts at 0:45 in our Exporting Files tutorial and covers digital PNG files followed by PDF output for printing. The videos use an earlier Photoshop interface; menu wording may vary by version.
Jump directly to digital export at 0:45 or PDF export at 1:44. Check your printer’s specifications before using the example settings.